
How to Start a Sourdough Starter
How to Start a Sourdough Starter
Have you ever dreamed of filling your kitchen with the tangy aroma of freshly baked sourdough, its crust crackling with a satisfying snap and its interior boasting a chewy, complex flavor unlike any other? The journey to achieving this culinary magic often begins with a humble mixture of flour and water: the sourdough starter. While it might seem a little daunting at first, embarking on the adventure of cultivating your own starter is a deeply rewarding experience, connecting you to centuries of baking tradition and unlocking a world of delicious possibilities. So, are you ready to take the plunge and witness the fascinating transformation of simple ingredients into a vibrant, living culture?
What do I need to start a sourdough starter?
Here's the five essentials you need to start a sourdough starter today!
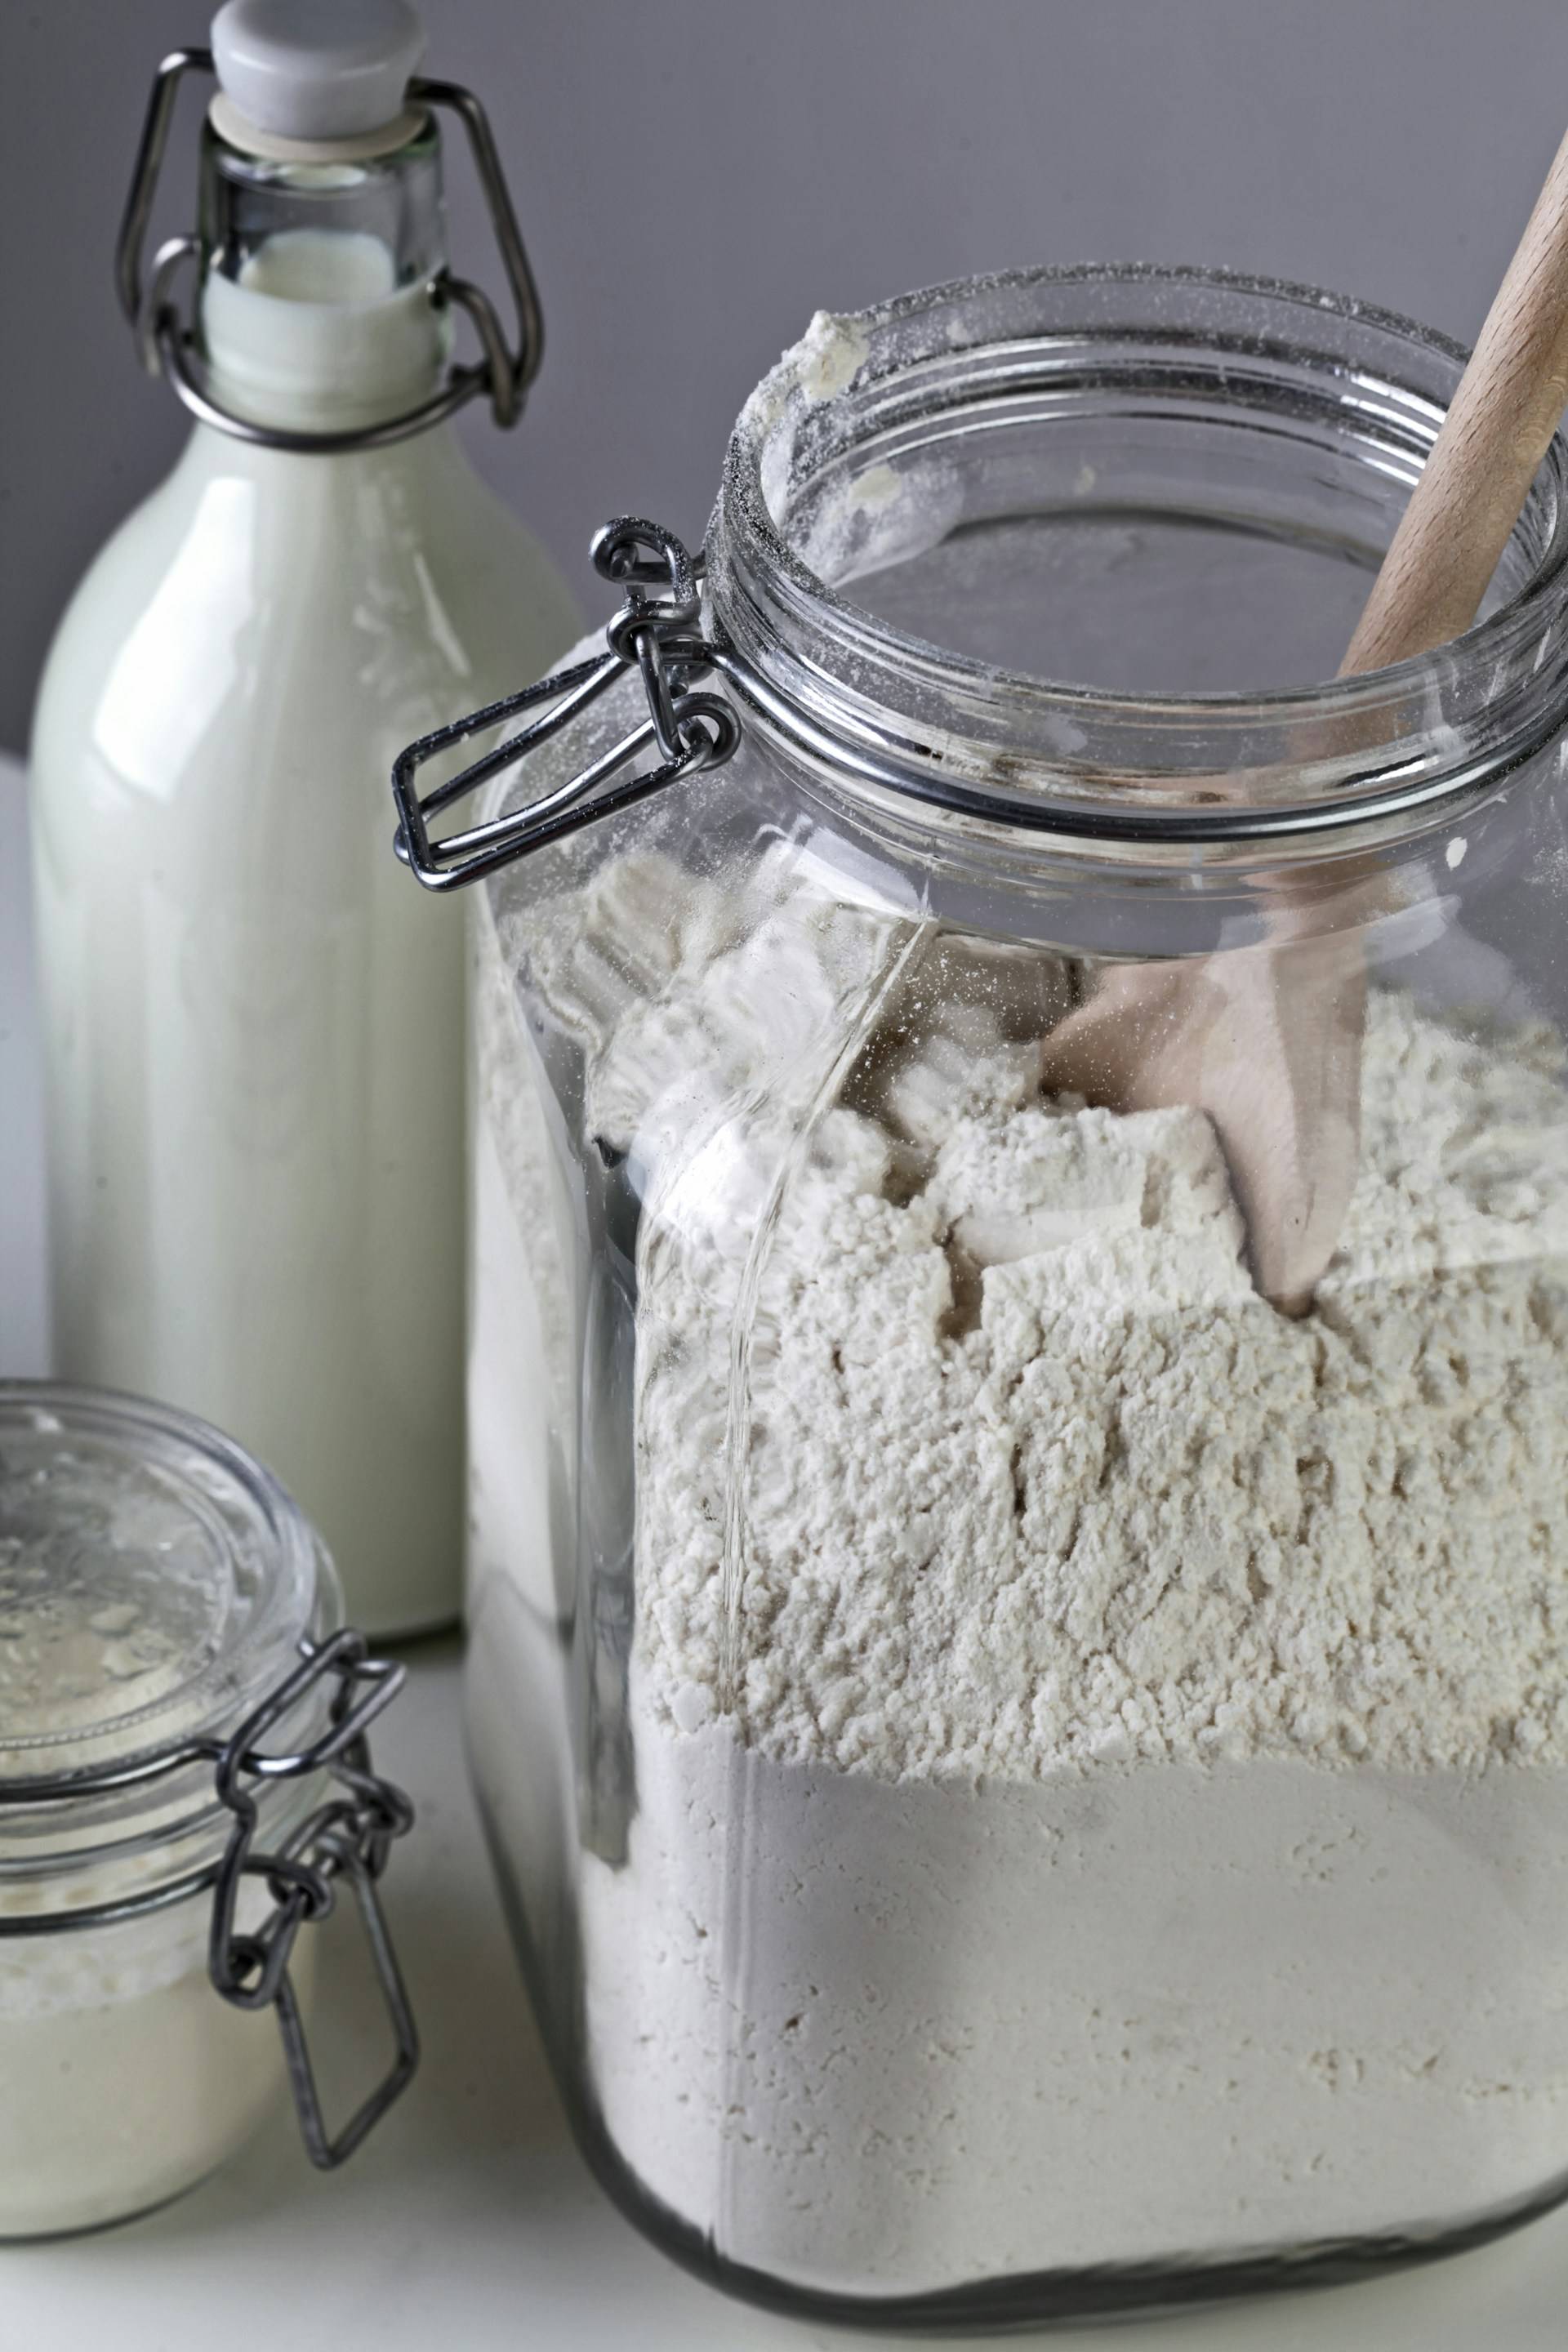
1
Flour is the foundational food source for the wild yeasts and bacteria that are essential for a thriving sourdough starter. It provides the necessary carbohydrates, mainly starches, which these microorganisms consume and convert into carbon dioxide (responsible for leavening) and various acids (contributing to the characteristic sour flavor). Different types of flour, particularly whole grain varieties like whole wheat or rye, contain a higher concentration of these beneficial microbes and nutrients, often giving a starter a quicker and more vigorous start. As the starter matures, it can be maintained with various flours, each potentially influencing the starter's flavor profile and activity.
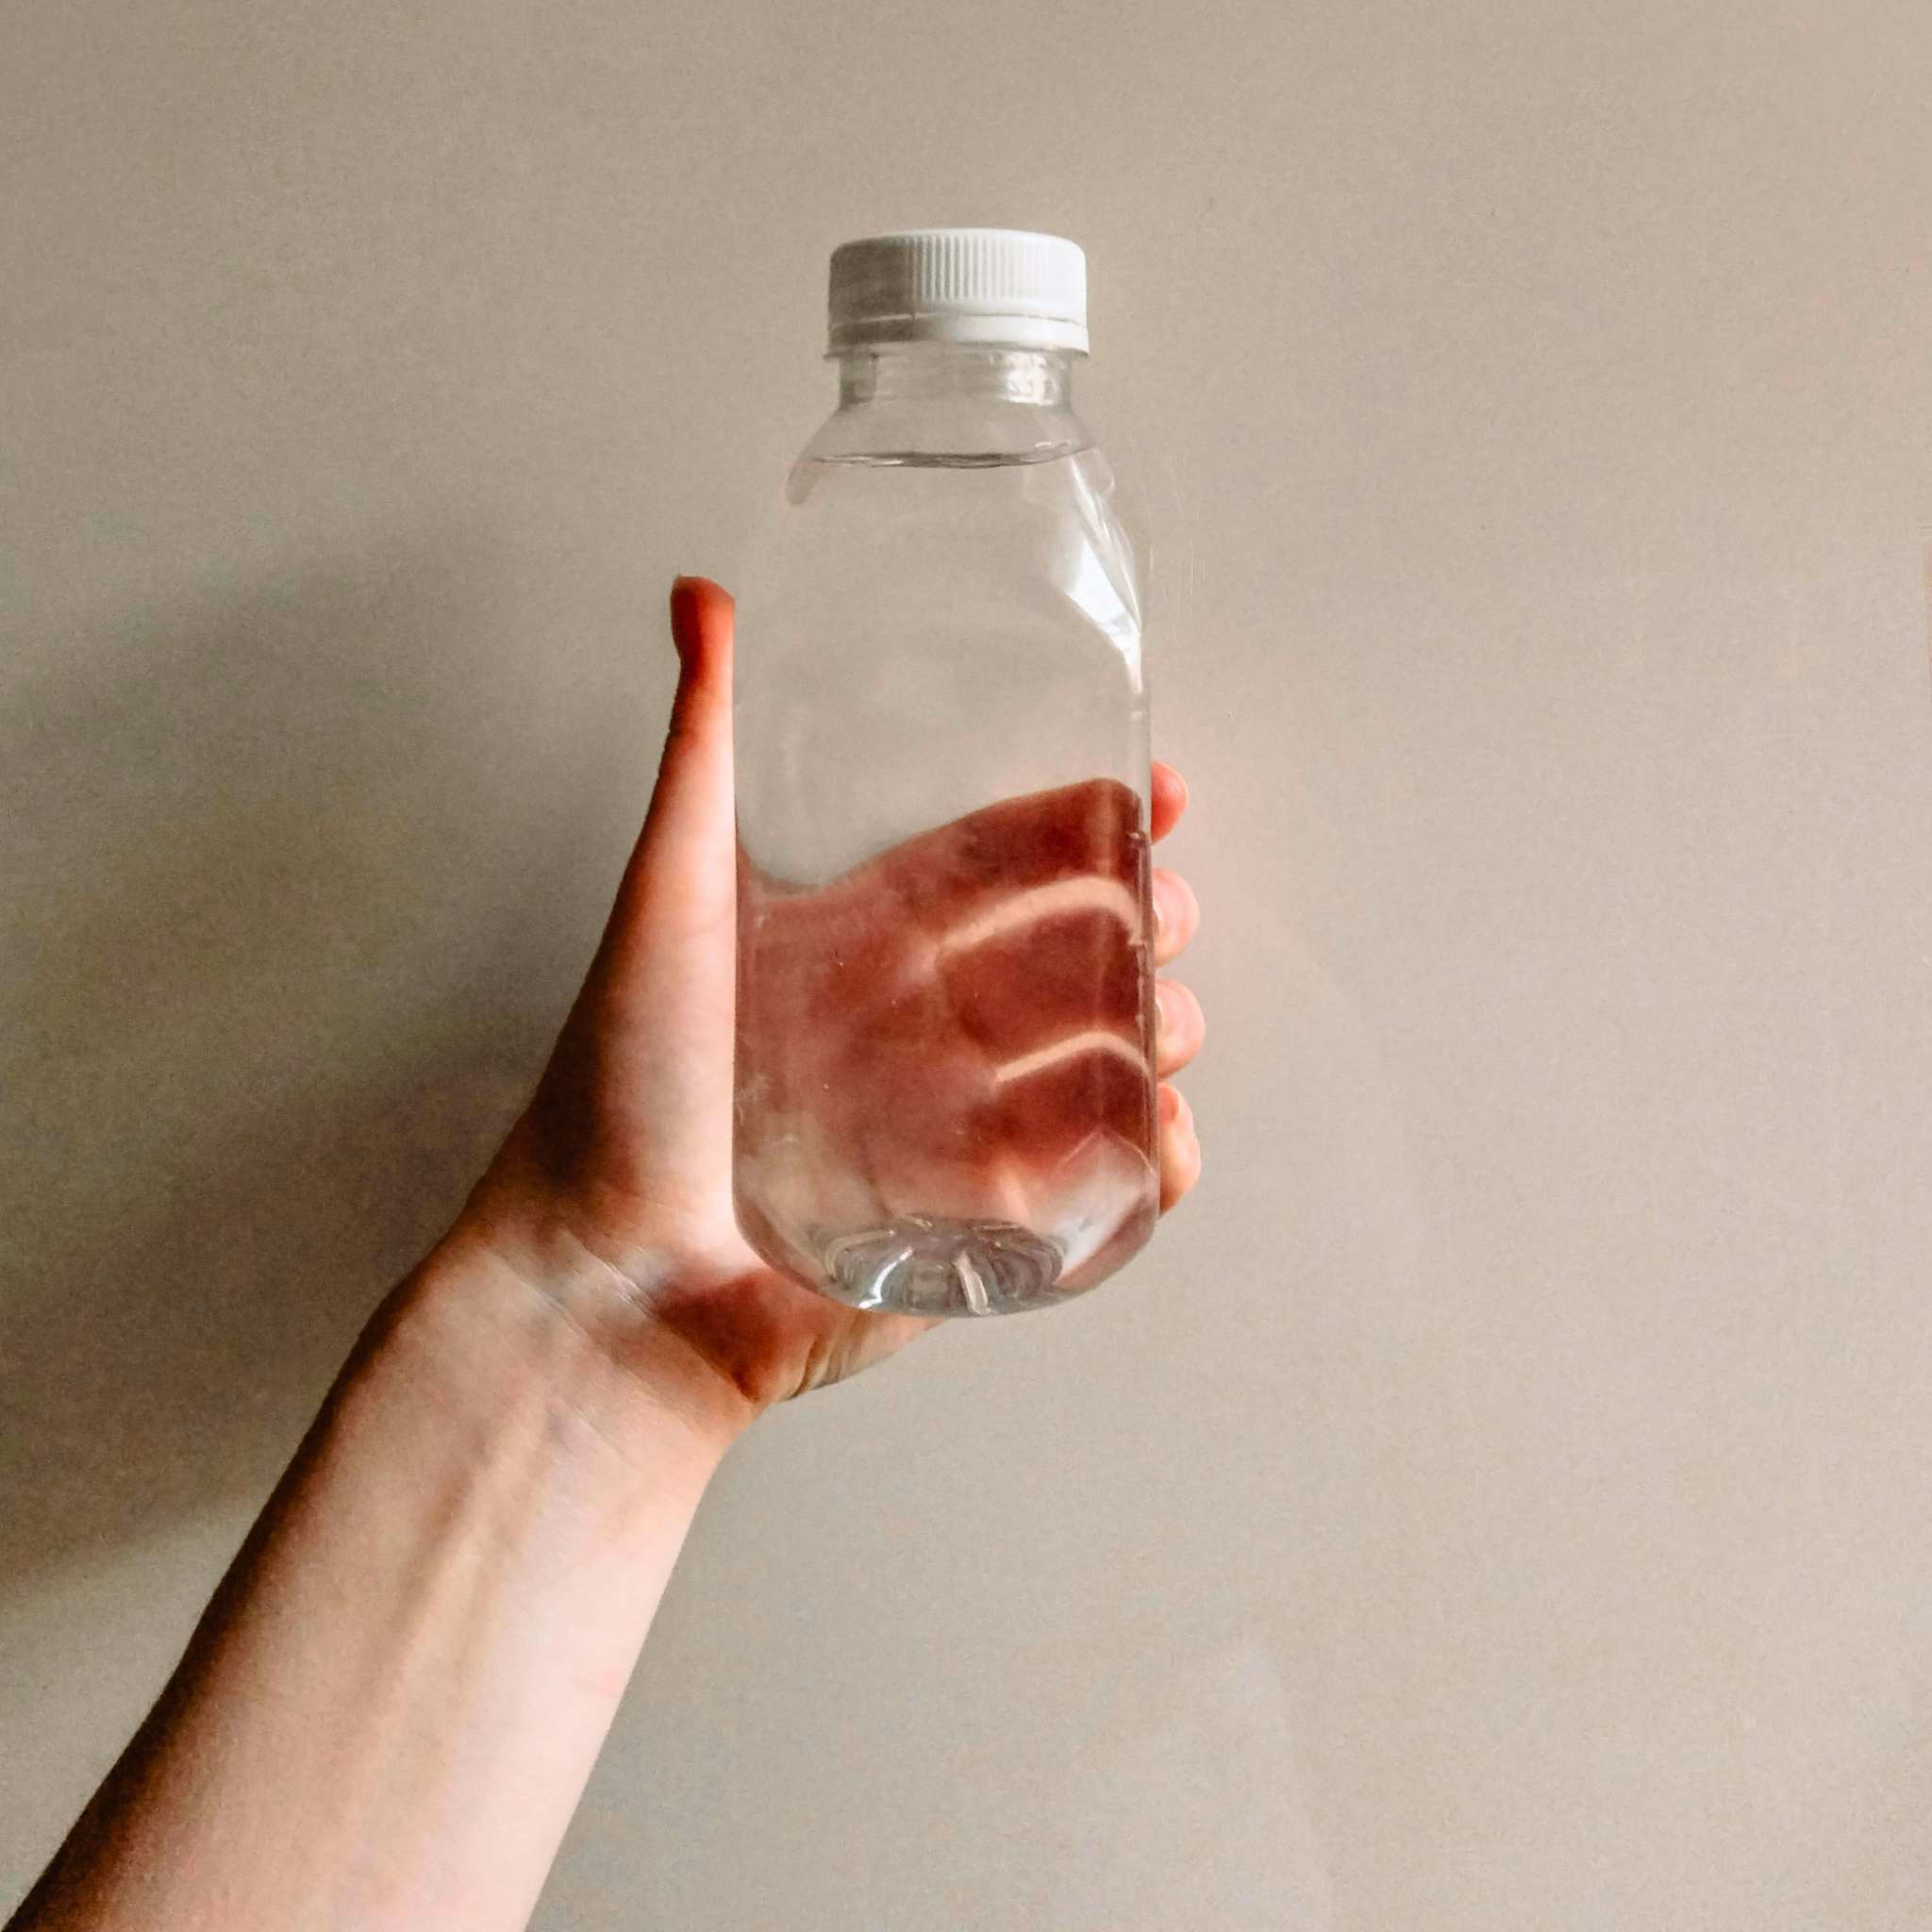
2
Water is fundamental when embarking on the sourdough journey. It acts as the very cradle for the wild yeasts and beneficial bacteria we're trying to cultivate. In most cases, filtered tap water or bottled spring water will be your best bet for a thriving sourdough starter.
The water hydrates the flour, making it a hospitable environment for these microorganisms to wake up from their dormant state and begin their metabolic processes. It also plays a crucial role in the enzymatic activity that breaks down complex carbohydrates into simpler sugars, which then serve as food for the burgeoning microbial community. Essentially, without the right amount and quality of water, your sourdough starter simply won't get off the ground.
DIRECTIONS FOR STARTING A SOURDOUGH STARTER
Day 1
- In your clean glass jar, whisk together 50 grams of whole wheat flour and 50 grams of non-chlorinated water. Ensure there are no dry clumps of flour. The mixture should resemble a thick batter or pancake batter.
- Cover the jar loosely with a lid (not tightly sealed, as gases will be produced) or a piece of breathable cloth secured with a rubber band. This allows airflow while preventing contaminants from getting in.
- Place the jar in a warm (ideally 70-75°F or 21-24°C), undisturbed location. Avoid direct sunlight. A slightly warmer spot will encourage microbial activity.
- Resist the urge to peek and stir constantly! Let the mixture sit for 24 hours.
Day 2
- After 24 hours, take a look at your mixture. You might not see much change yet, and that's perfectly normal. You might see a few tiny bubbles or a slight increase in volume, but don't be discouraged if there's no visible activity.
- Do not feed your starter on Day 2. You're allowing the initial microbial population to establish itself.
- Cover the jar loosely again and return it to its warm spot for another 24 hours.
Days 3-7
THE FEEDING CYCLE BEGINS:
-
Over the next few days, you should start to see more signs of activity: bubbles forming on the surface and throughout the mixture, a slight increase in volume, and possibly a slightly sour or yeasty aroma.
-
The First Feeding (Usually Day 3): Once you see some signs of activity (even if it's just a few small bubbles), it's time to start feeding.
- Discard: remove and discard about half (50 grams) of the mixture from your jar. This step is crucial to prevent the starter from becoming too large and to provide fresh food for the growing microbes. Don't be tempted to keep all of it!
- Feed: add 50 grams of unbleached all-purpose flour and 50 grams of non-chlorinated water to the remaining starter in the jar.
- Stir the flour and water into the starter until it's smooth and no dry flour remains.
- Cover the jar loosely again.
- Place it back in its warm location.
-
Repeat the discard and feeding process (Step 2) every 24 hours. As your starter becomes more active, you might notice it rising and falling predictably within that 24-hour window.
-
Pay attention to how quickly your starter is rising after feeding. A healthy, active starter will typically double in volume (or close to it) within 4-8 hours after feeding and then gradually fall back down.
-
Once your starter is consistently doubling within 4-8 hours, you might need to increase the frequency of feedings to twice a day (every 12 hours) to keep it well-fed and active.
It can take anywhere from a week to several weeks for a sourdough starter to become reliably active and ready for baking. Keep feeding it regularly and observing its progress. You'll know it's ready when it doubles predictably after each feeding and has a bubbly, spongy texture. Good luck!